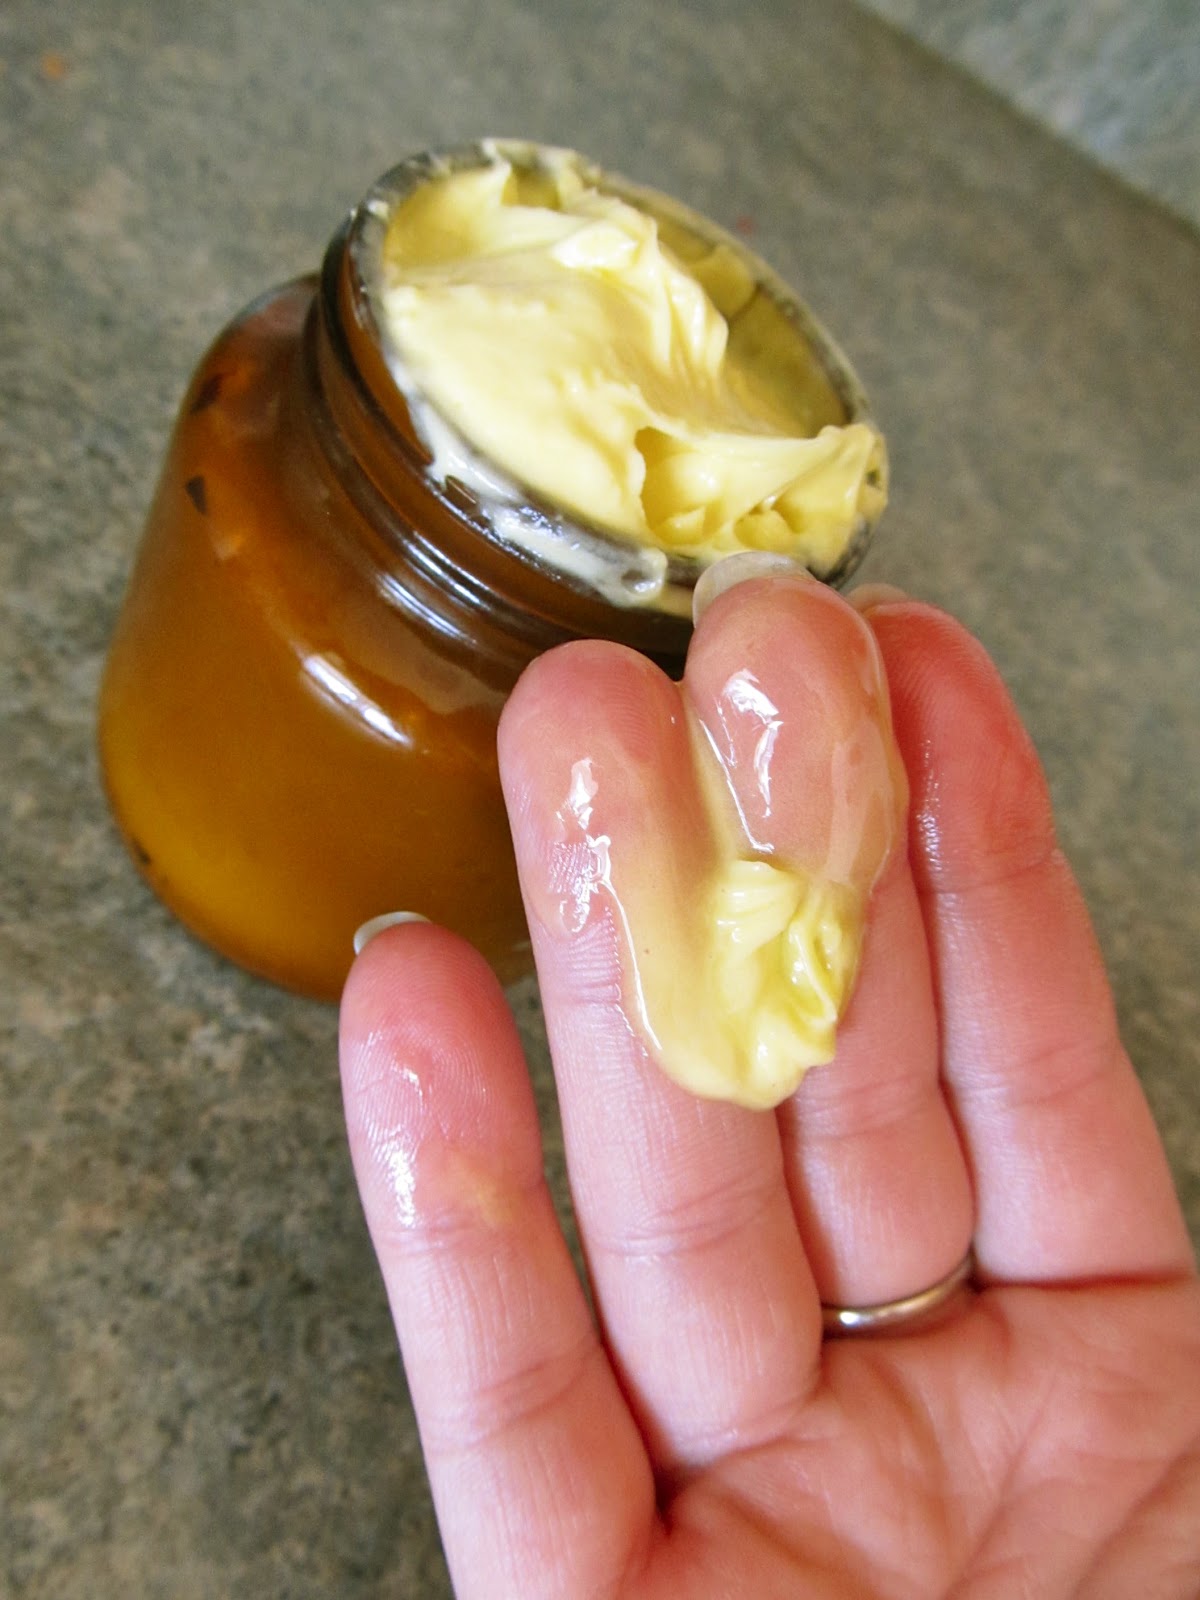
Friday, November 2, 2012

Homemade Deodorant that WORKS!

I've been looking into natural and/or homemade deodorants for awhile now...reading reviews and comments from people who have bought/made them, trying to find information about commercial deodorants and the effects of their ingredients. I still don't feel like a have a real handle on that, but I'm trying to head towards more natural products for our family. I tried a few different recipes for homemade deodorant which either didn't work, or did work but smelled bad/funny. I wanted to find something that was natural, but still WORKED and DIDN'T make me smell funny. :) I know, I know...that's asking a lot. But I finally found one that seems to fit the bill! I adjusted the recipe slightly, but the original recipe is as follows:

- 3 tablespoons arrowroot powder
- 3 tablespoons baking soda
- 3.5 tablespoons coconut oil
- 1.5 tablespoons beeswax (either grated flakes, or pellets/pastilles)
- 12 drops tea tree oil
- 10-12 drops any other essential oil or oils you prefer (optional...only add up to another 10-12 drops combined)
- 3 drops castor oil (optional...just helps it glide on better)

I made this recipe just as given above, using extra virgin coconut oil. I found I really didn't like the smell of that oil (I'm not a big coconut fan) and every deodorant I've tried with tea tree oil has really bugged me...I just don't like that smell! However, the deodorant DID seem to work...so I decided to try the recipe again using my more refined coconut oil (cheaper, AND no smell) and omit the tea tree oil. Below is my adapted recipe.


What you'll need:

- 3 tablespoons arrowroot powder 
(which I didn't have, so I substituted cornstarch instead...seems to work well!)
- 3 tablespoons baking soda
- 3 tablespoons coconut oil
- 1.5 tablespoons beeswax (grated or pellets)
- 10 20 drops essential oil or fragrance oil of your choice (optional)
- 3 drops castor oil for extra glide (optional) (UPDATE: Now that I've made this recipe several times, I'm adding about 1 teaspoon of castor oil. It gets rid  of the dry, itchy feeling I was dealing with at first. Just don't add too much more than that, or your deodorant won't harden well)
- Cleaned deodorant container (or whatever container you'd like to use)


Put all ingredients except essential/fragrance oils into a small glass jar.


Place the jar in a small saucepan of boiling water...this acts as a double boiler. 


Mix up the ingredients as well as possible...this will get easier as they start to melt. :)


Keep stirring....


...until everything is smooth and melted. :)


Remove from the hot water and add essential or fragrance oils. I usually use essential oils in things because they're natural and good for you....but this time I used a fragrance oil from Elements Bath & Body. I know it's synthetic, but I wanted a really good smelling deodorant so I fudged. :) By all means, use your favorite essential oil if you'd rather avoid the synthetics! 
UPDATE: 
I've also made this using various essential oils. I really like citrus oils...lemon, lemon & lavender, lemongrass, or the Citrus Bliss blend from doTERRA smell wonderful. 
Works very well and still smells good! 


Pour into a cleaned out deodorant container (fyi, these containers are SUPER hard to clean out!! Deodorant is NOT made to be washable, and the left-over gunk in the containers stays true to it's original purpose!! After trying every soap and cleaner I could find, the thing that worked best was pouring some GooGone into the container, putting the lid on, shaking it up, and letting it sit for awhile. Then I rinsed it out and washed it with soap...the GooGone took most of the leftover deodorant right out!!)


I actually made a smaller version of this recipe (I think I did 2 tablespoons of the main ingredients instead of 3, and pared everything else down accordingly), but it didn't make quite enough to fill up my container, so I would go with the 3 tablespoons recipe. :) Let the deodorant harden either at room temp or in the refrigerator until it's solid all the way thru. 


Once it was solid, I cranked it up to the top. :)


And there you have it! I haven't had any problem with this melting at room temp...you might have to keep it in the fridge if you house is really, REALLY warm, but otherwise it should be fine at room temp. :) I've been wearing this deodorant exclusively for the last couple of weeks and although we haven't exactly been in the middle of our warmest weather, I've been in some situations where I've definitely been able to put this to the test (UPDATE: It's been a fairly hot summer so far, and I've been gardening. I'm still using my homemade deodorant. Case closed). :) I have worked up a sweat but this kept me 100% BO free, and I feel like it worked better as an antiperspirant than my commercial deodorant! That was a surprise as I didn't expect it to do much as an antiperspirant...but it worked well for me! The first few times I used it, it felt really dry and itchy when it went on...I started rubbing a drop of either castor oil or sweet almond oil over the surface before applying the deodorant...I only do that every few uses, and it took care of the dry feeling (UPDATE: As mentioned in the ingredients list, slightly upping the amount of castor oil in the recipe helps get rid of this feeling). :) Don't screw it up very far before applying, as it gets soft with your body heat and you may wind up getting on a lot more than you wanted. :)

Sunday, October 21, 2012

Nourishing Sweet Almond Oil Lotion

Here's another of my anti-dry-winter-skin experiments. :) I got the recipe from my sister-in-law and added some fun scents to make it my own.


You will need:

1/2 cup sweet almond oil, or else 1/4 cup sweet almond oil and 1/4 cup grape seed oil
(after I took the picture I decided to use half sweet almond oil and half grape seed oil, so that's why the grape seed oil isn't in the picture. Either way works well)
1/4 cup coconut oil
1/4 cup beeswax (either grated or in pellets)
1 teaspoon vitamin E oil (optional)
Essential oils or fragrance oils for scent (optional) 
She told me you can also add 2 tablespoons of a body butter (shea, coco, mango, etc.) if you'd like, but I didn't in this batch. Just another option. :)


Put the almond oil, coconut oil, and beeswax in a glass jar. If you're using a butter, add it at this time too. 


Fill a small saucepan halfway with water, bring to a boil, and set the jar into the water (like a double boiler). Boil and stir until all the beeswax has melted. 


Add vitamin E oil (I have 1000 i.u. tablets and it takes about 4 tablets to get a teaspoon of oil).


Add any essential oils or fragrance oils. I usually stick with essential oils to keep my products 100% natural, but this time I used a fragrance oil I got from Hobby Lobby along with my vanilla oil. It was a lovely combination!!!!


Let sit and harden. 


I stuck mine in the fridge to help it harder a little faster. 


Once it's set all the way thru, scoop it out of the jar and into a bowl or stand mixer. 


Whip on high with either an electric hand mixer or a stand mixer until light and creamy. 


Keep whipping until there are no hard little lumps left. 


Put into a small container and use as needed. :) A little goes a long way with this lotion. It's very different than the whipped body butter I posted before...it leaves you a little oily, but it absorbs quickly and is definitely more of a lotion than a body butter. I really like it...it feels so light and soft and makes my skin feel so hydrated and nourished...plus I LOVE the scent combination I used!! Give it a try. :)


Monday, October 15, 2012

Whipped Body Butter

I have fairly dry skin, and with winter approaching and bringing with it several months of dry air, I decided to try some recipes for some different kinds of lotions/moisturizers. I found a recipe that looked promising, but it was for lotion BARS, and I wanted to try something more lotiony/buttery, so I adapted it slightly to turn it into a body butter.


You will need:

1/2 cup coconut oil
1/2 cup shea butter (or mango butter, cocoa butter, etc.)
1/3 cup grated beeswax or beeswax pellets/pastilles
1 teaspoon vitamin E oil (optional)
Essential oils of your choice (I used lemon & lavender)


Measure out your coconut oil, shea butter, and beeswax, and put them in a pint jar. This will be your double boiler. :)


Put the jar in a small pan of boiling water, and stir frequently.


It will take awhile for everything to melt, but be patient...it will all liquify eventually. :)


After all your solids are melted, add the vitamin E oil. I only had vitamin E in capsules, so I just poked them with a pin and squeezed the oil out. Gotta do what you gotta do. :)


Next add your essential oils. I honestly can't remember how much I added....probably 10-20 drops of each oil...but I basically just added oils until I liked the smell, so do likewise. :)


I put the whole jar in the fridge to help the lotion cool more quickly. I kept checking it and stirring it. Once it had started to set up a bit (like the above picture) I poured it out into my stand mixer. 


I whipped it on high for several minutes, then put it (mixer bowl and all) back into the fridge for a few minutes...


...Then I whipped it for a few more minutes on high, and put it back in the fridge for a few MORE minutes...


...And repeat....


....ahhhh, NOW we're getting somewhere. :) Basically just keep alternating whipping and cooling until it gets to the consistency you're looking for. :)


Now when I call this "body butter," I mean it. :) It has a nice, fluffy texture, but when it gets warm (from say, your body heat) it melts into an oil. Once you rub it into your skin you WILL be oily for awhile, but it will eventually soak in!! :) If the excess oil bothers you, just gently blot it off with a clean cloth. I wouldn't recommend using it right before going somewhere...after getting out of the shower or just before bedtime works well. :)


And there you have it! Whipped Body Butter! :)

Thursday, October 4, 2012

Faux Wrought Iron Toilet Paper Roll Art

A couple years back I came across this post on making wrought iron like wall art out of the cardboard tubes inside toilet paper and paper towel rolls. I took a screenshot, and was glad I did because she soon had to take the tutorial down as she was picked up by Crafts 'N Things magazine, and they didn't want the tutorial on her blog until after their article about it. I did my wall art based on looking at her picture, but now it would be even easier as she's posted free patterns!! If you'd like to try this project I'd recommend starting with at least one of her patterns to get the hang of it. :) Looking at a picture and guessing how she did it wasn't that easy. :) 


What you'll need. 

- Lots of cardboard tubes from both toilet paper and paper towel rolls. For pictures of how to cut them, check out the link I posted above. The paper towel rolls need to be cut into strips lengthwise, and the toilet paper rolls need to be cut open lengthwise, and then cut into strips widthwise to keep the curl of the tube. 

- Square wooden dowels. I bought mine at Hobby Lobby for around $0.80 each. I bought 1/4" dowels, so I cut my cardboard strips 1/4" wide.

- Tacky Glue

- Spray paint. I used a black, hammered metal finish paint, and then a few sprays of a silver, glittery metallic for an accent. 


I got my husband to cut my dowels into 10" lengths, then used tacky glue to glue them into square frames. 


Use the long, paper towel roll strips for the longer, framing pieces in your design. 


Use the smaller, curly pieces from the toilet paper tubes for the curled parts of your design. Just roll them up into whatever shape you want, and then use the tacky glue to glue them into place. Get creative! Whether you're using a pattern or just coming up with a design on your own, there's always room to experiment with new ideas. :) 


One corner done! :)


I like to start from the corners and work my way in. 


Corners finished! Now for the middle...


It helps to divide each area into smaller sections, and just do one section at a time. 


Finished!


Now for the paint...


And done! On to number two. :)


Again, use the paper towel rolls for the longer pieces.


Just roll and curl those little pieces till they look just the way you want, then glue them down!


Done with three of my four smaller sections. 


Almost there...


And done!


I really think this one is my favorite. :)


Paint!


And done!


I'd like to do two more in the future so I can have a set of four, but for now I'm happy with my two. 


Who would have thought that toilet paper rolls could make such beautiful art??!!